
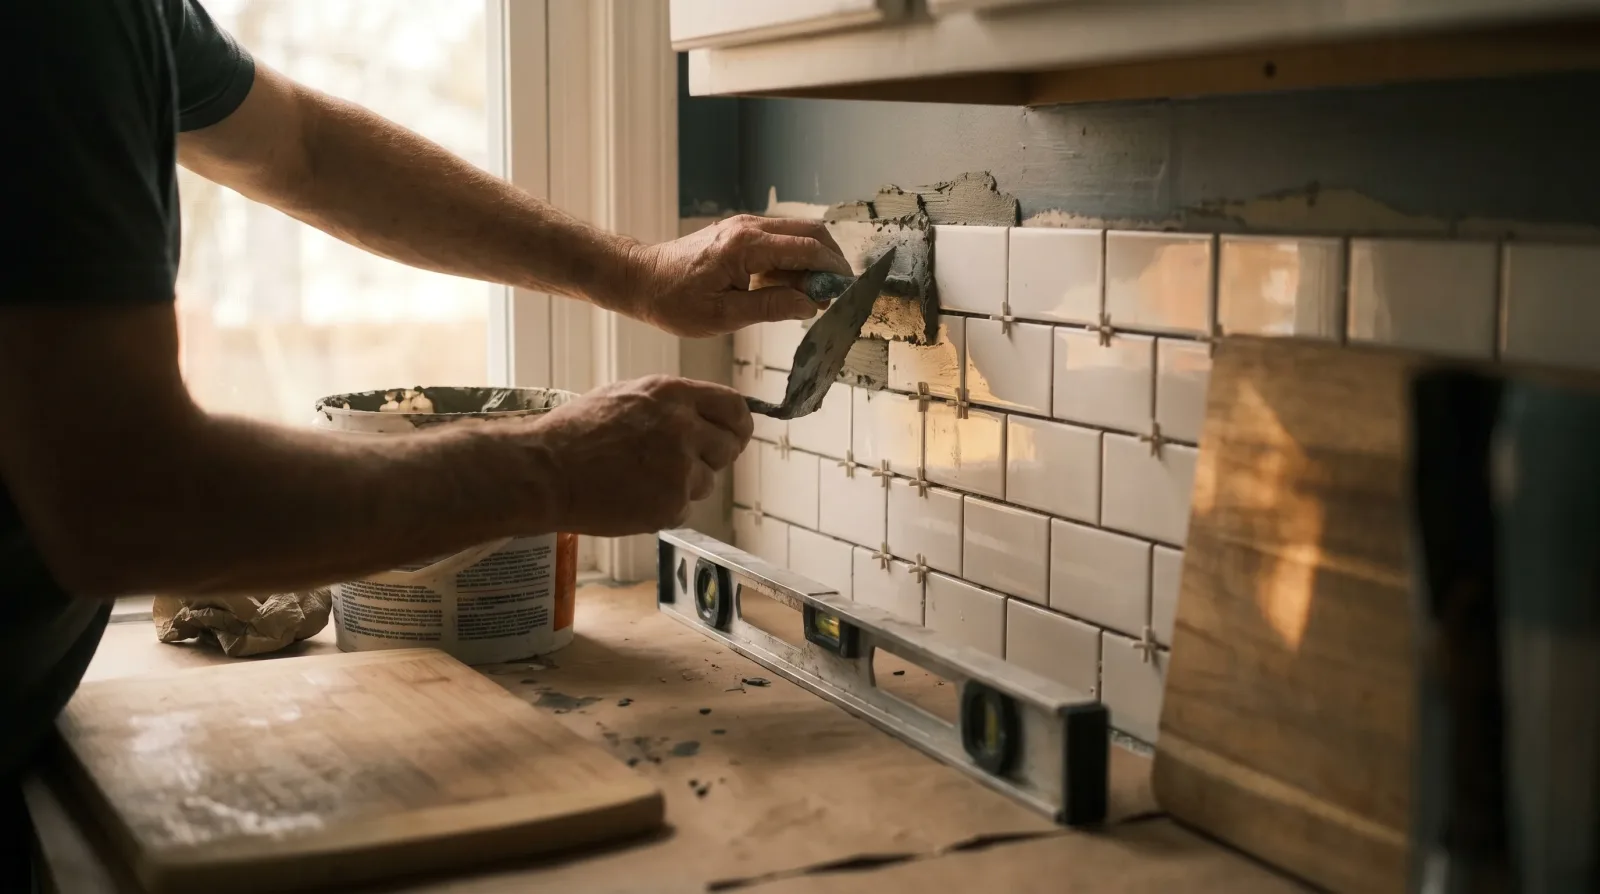
Backsplashes are the most photographed surface in the most photographed room of the house. They sit at eye level, behind the sink, framed by cabinets, and they catch every light in the kitchen at some point in the day. A backsplash done well makes a builder-grade kitchen feel custom. A backsplash done quickly announces itself forever, and there is no easy way to fix a wavy grout line or a tile cut that misses an outlet by a quarter inch.
This is the part of my work where I slow down on purpose. Backsplashes are a specialty of mine, and this guide is what I wish every Lower Mainland homeowner knew before walking into the tile shop.
1. Choose tile that matches your wall, not just your kitchen
The most common installation mistake starts at the tile shop. Large-format tiles look elegant in a showroom but are unforgiving on a wall that is not perfectly flat, which is most walls in BC homes built before 2005. Small-format mosaics hide imperfections beautifully but eat hours in cutting and grouting. Subway tile is the safe-and-clean default for a reason. I confirm which tile types are smart for your specific wall after seeing photos, before you commit at Bedrosians or Tileland.
2. Layout decisions that change everything
Where the first tile sits determines whether the backsplash looks intentional or accidental. Centered on the range. Centered on the sink. Aligned with cabinet edges. Started full-tile at the eye-level run rather than at the counter where awkward cuts will land in plain view. These are calls I make by dry-laying the tile before any thinset goes up, and they are the difference between a backsplash that flows and one that distracts.
3. The outlet cuts make or break the wall
Outlets sit roughly 4 inches above the counter, right in the middle of the backsplash. Cutting tile around an outlet is where rushed installs fall apart: jagged edges, gaps wider than a grout line, or tile chipping at the corner. I scribe each cut, score with a wet saw, and finish the curves with a tile nipper or a Dremel. The covers go back on flush, with the box raised on spacer rings so the outlet sits at the new tile depth instead of recessed in a hole.
4. Inside corners need miters or a Schluter strip
Where a backsplash wraps around an inside corner, two cut edges have to meet. Most installs run one tile into the corner and butt the other tile against it, which leaves a visible seam and a corner that catches grime. Better installs miter the two tiles at 45 degrees so they meet in a clean line. Cleaner still is a Schluter strip or a pencil-tile transition that gives the eye a deliberate stop. I confirm the corner approach with you before any tile is cut.
5. Grout choice and grout colour
- Sanded grout for joints over 1/8 inch (most subway and large-format installs).
- Unsanded grout for narrow joints (most mosaics).
- Epoxy grout for high-stain areas behind a stove (premium, harder to apply, much more durable).
- Colour matters more than people expect. White grout brightens a small kitchen but stains over time. A grey or warm-tan grout hides daily wear and frames the tile pattern.
- Sealing matters. Cement-based grout should be sealed about a week after install, then resealed every few years.
Every job I take gets a written scope before I start, so the price is agreed in advance and the list stays the list.
6. The detail caulk no one talks about
Where the backsplash meets the countertop, where it meets the side cabinets, and where it meets the upper cabinets, the right material is colour-matched silicone caulk, not grout. Grout in those joints will crack as the house moves and the wood breathes. A clean caulk line in a matching colour reads as part of the tile until you actually look closely.
How long does a kitchen backsplash take?
Most kitchen backsplashes are a two-day job. Day one is layout, cuts, thinset, and tile. Day two is grout, sealing, and the detail caulk after the thinset has set overnight. Larger walls, herringbone or marble layouts, or full-height accent walls add a day. I include a working timeline in every written estimate so there are no surprises.
